Tuna Tunah II QRP Antenna Tuner
2018-08-14 The comments below were again verified today when I set up my 35 ft wire and gave it a try using the tuna tunah ii. It tuned 40, 30 and 20, 17, 15, 10 and 6 meters and I had a short but solid QSO on 20 meters with it. I was unable to get it to tune 80 meters.
2018-07-25 As I have been playing with the 35 ft end fed wire antenna I've gained some experience with both the Tuna Tunah II and the EMTECH ZM-2 tuners. Both work well, each with it's strengths and weaknesses in this particular situation. The main strength of the Tuna Tunah is the range of impedances it can deal with. A consequent weakness is that it is somewhat cumbersome to tune given the many switches involved. On balance I believe that weakness is overshadowed by its strength. I talk about my experience with the ZM-2 on that page.

From what I am learning while using this tuner it is quite versatile and can handle a surprising range of antenna impedances. It takes a little patience and persistence to find the right combination of switches but I have yet to find anything it won't tune!
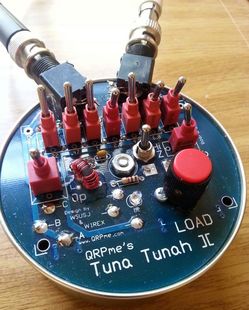
If you compare the photo at left with the official photo QRPme's website you'll notice that I replaced the provided RCA connectors for transmitter and antenna with BNC connectors. I don't have any coaxial cables with RCA connectors on them so they were a major inconvenience. Not sure why the manufacture used them as they are rare in ham radio for antenna connections especially.
I also added, then removed the switch to the right of the mounting screw. It switched in an additional 220pf of capacitance but I never found a situation where I needed it so have since removed it.
Yesterday I took it and my portable setup consisting of a Yaesu FT-817nd, 35 ft stealth antenna and Wonderpole to a nearby forest preserve and set everything up. When I turned on the radio it was obvious that no antenna was attached. That is when I discovered in my careless packing everything I had broken the tune/operate switch so nothing was connected! Of course I had nothing with me to repair it so no contacts, even though when I bypassed the tuner and tied the antenna directly to the radio there were quite a few strong signals on the bands. But SWR made operating impossible.
|
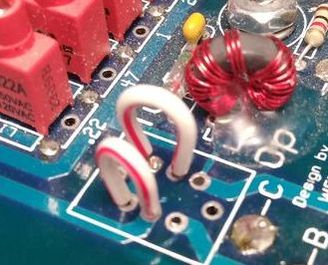
I've contacted QRPme to see if I can buy the switch from them but in the meantime I removed the remnants of the old one and using jumpers connected it in the operate mode for now. The FT-817 indicates SWR so I can operate without it.
While I had it apart I decided to make another change I've wanted to do for some time. The Tuna can is about 1/4 inch taller than it needs to be which makes the thing a bit awkward to use and to pack. In my portable bag it is the tallest thing in there which in part contributed to the broken switch.
|
|
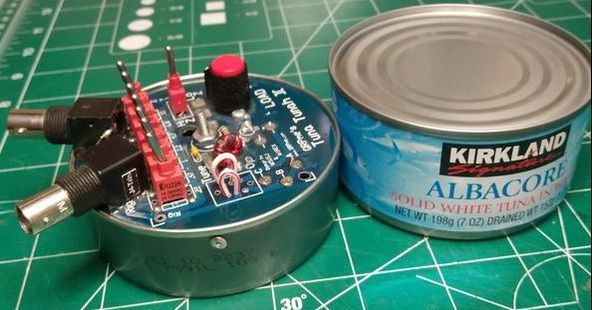
Finally, with lots of fussing, I managed to force the top part inside the bottom part of the can and used a couple very small aluminum pop rivets to keep it in place. I'm pretty happy with the results. Now the circuit board is one inch above the bottom rather than 1-1/4 inches which makes it fit much more conveniently in my portable package. Now if those were just short handled switches.... :-)
|
So I cut it down about 1/4 inch. The result next to a standard (unopende!) tuna can is shown at left. Much more elegant, wouldn't you agree?
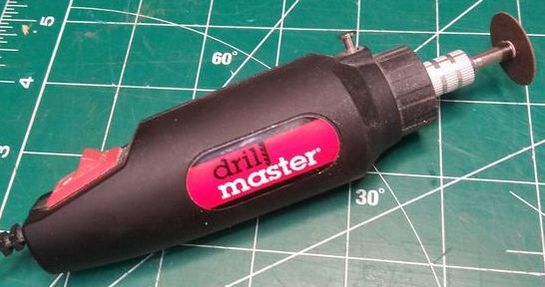
I considered various approaches to cut the can so I could keep the top lip part into which the circuit board fits perfectly. In the end, I carefully marked a line 1/4 inch down from the top all around the can and used my Harbor Freight tool with a cutting disk to carefully cut along the line.
|


