QRPLabs QCX 5 w 40 meter CW Transceiver
Helpful Links to YouTube videos of the QRPLabs QCX transceiver
2020-04-05 Today, after online church and lunch, I fired up my QCX again and had one more QSO with it. When I returned this evening to the shack and turned it on again I was amazed how quiet 40 meter was. At the same time there seemed ot be quite a bit of noise in the receiver. So on a hunch I flipped on my xiegu G90 and to my surprise there were many signals, sever very strong. I worked one and then went back to the QCX. Nothing. It transmits but nothing but noise in the receiver. This has happened several times since I built it. Once my neighbor took it and said he found and touched up a number of cold solder joints. It worked well again and I enjoyed a number of QSOs. Then the problem reappeared. I shelved it. Yesterday, before I put it on the year and I took it apart and looked carefully at the board under my magnifying lamp. I had read on Facebook that someone had similar problems and found a cold solder joint at the volume control. I gave those special attention and touched up those and some other potential cold joints. Now, after several hours it has come back. Not sure what to do.....
2020-04-04 Got my 40 meter QCX out tonight, connected my Pacific Antenna 4020 meter trap inverted vee and within 2 hours had 8 contacts with stations in three state QSO parties. The QCX was putting out 3 watts down around 7.035 where they were all congregated. Could have made many more but had many interruptions. The QCX performed flawlessly! What a quality rig! I've now logged 61 QSOs with it since putting it on the air April 29, 2019. The furthest one was 1437 miles with a station in Arizona.
2019-12-28 Since the 23rd I've had eight QSOs with the QCX. A couple of those were pretty rough for the other guy as I was only three watts but we got through! I used my QRPGuys 40-10 EFHW inverted vee, MFJ 40-10 EFHW sloper and Sotabeams trap inverted vee for them. QRP is great!
|
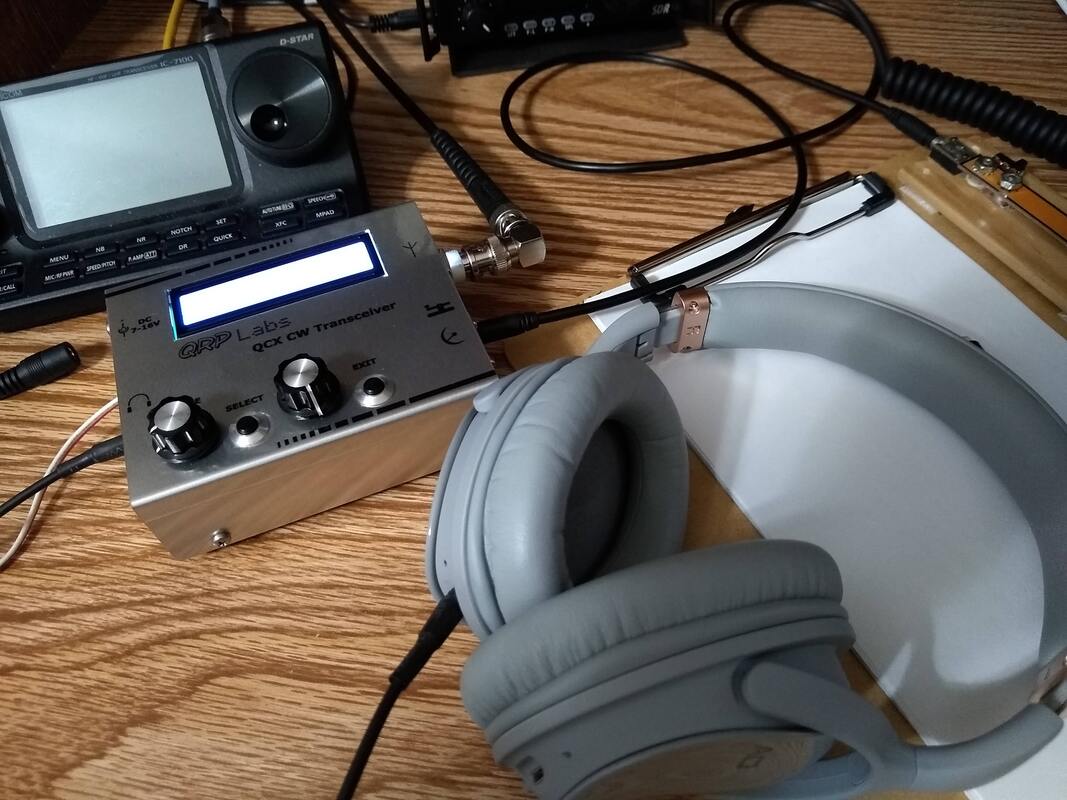
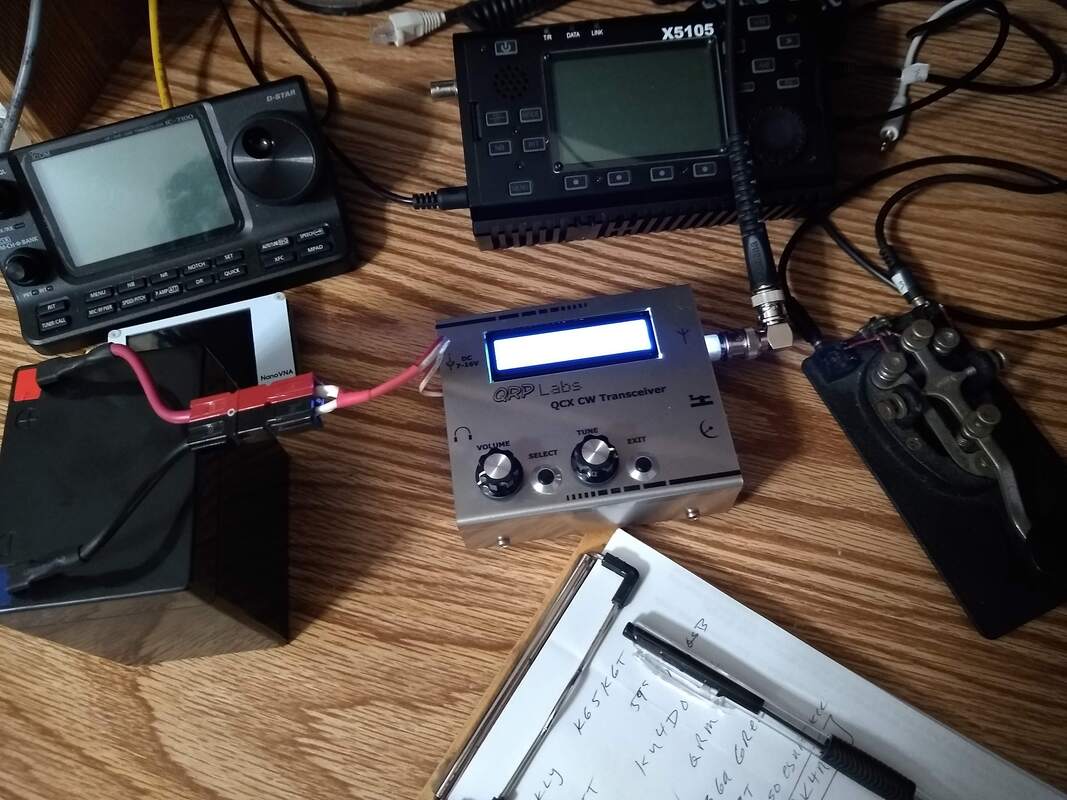
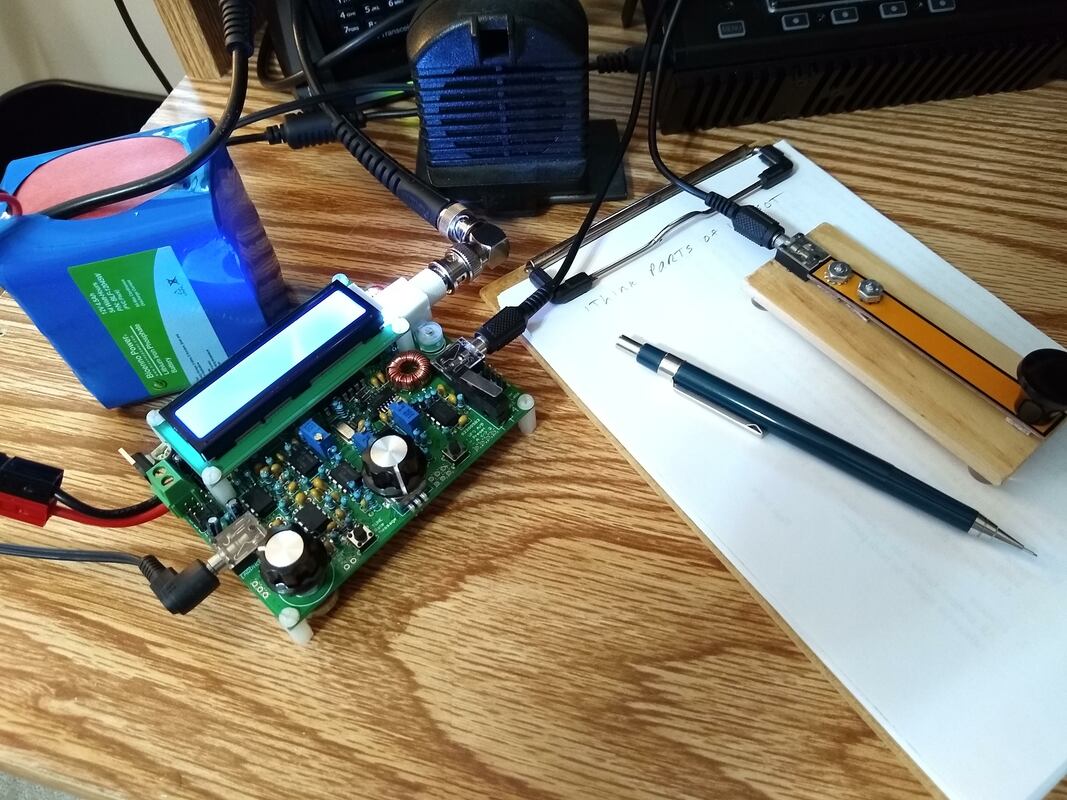
2019-12-23 Tonight I got out my QRPLabs 40 meter QCX that's been in a box since July. I couldn't find a power cable for it so modified it with a power-pole pig tail as nearly everything I have uses power poles. Then I connected my miady 6Ah battery, CW Key, headphones and QRPGuys 40-10 EFHW inverted vee.
Except for W1AW I heard practically nothing but decided to call CQ anyway. I love the repeating memory feature and already had CQ SKCC programmed so tuned to 7.055 and set it off! About six calls in, K4OY came back. He about blew me off my chair with a solid 599! When I answered he came back and gave me a 539. We had our quick QSO and my shirt buttons popped off with pride and excitement!
I was so heady with sudden and unexpected success that I called again... again... and again.... No response. Deflated I looked up at the SWR/PWR meter and noticed that it was putting out a whopping 3 watts!
|
Conclusion? Its a pretty slick little rig! I need to find the paper that tells how to use it and refresh my memory on its various options, like displaying the SWR and PWR. But I'm reminded why I have liked it every time I fire it up! It's small. It's capable on both transmit and receive. It has many features usually only found on much more expensive rigs. Too bad it doesn't have a tuner built in! but on a resonant antenna it doesn't need one anyway.
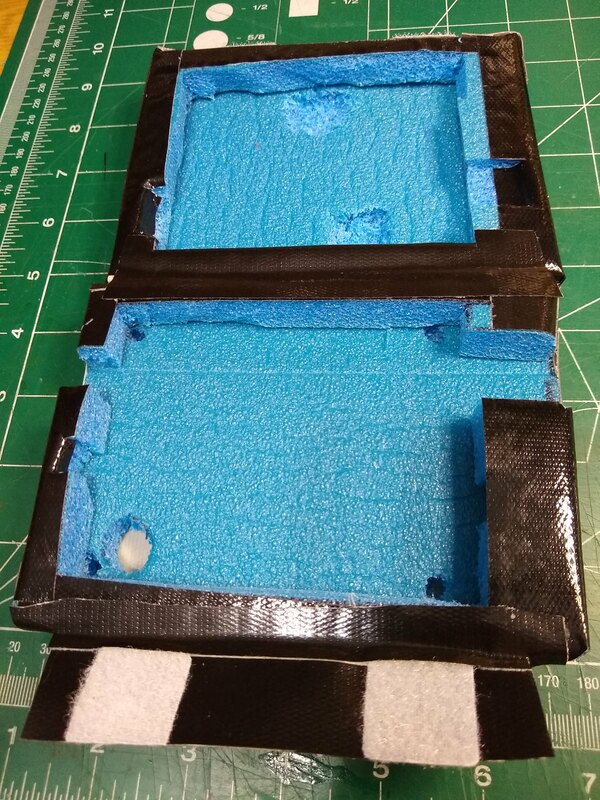
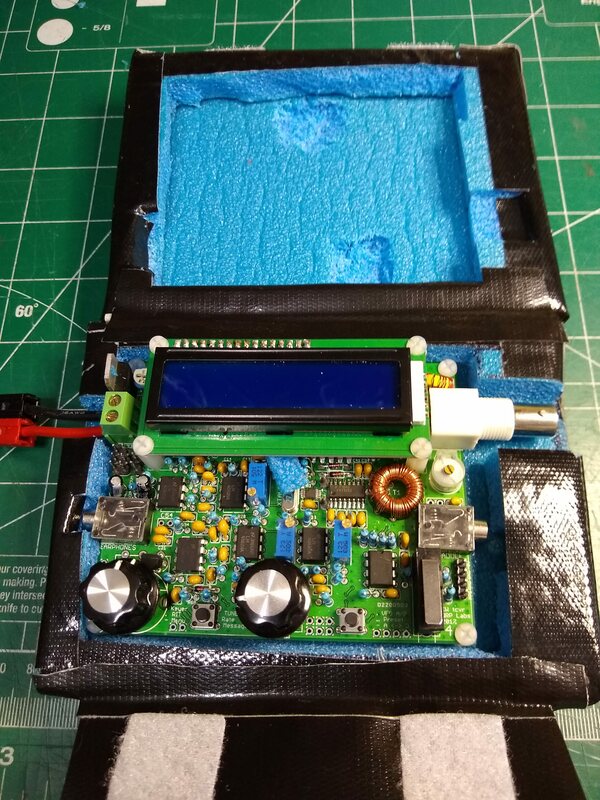
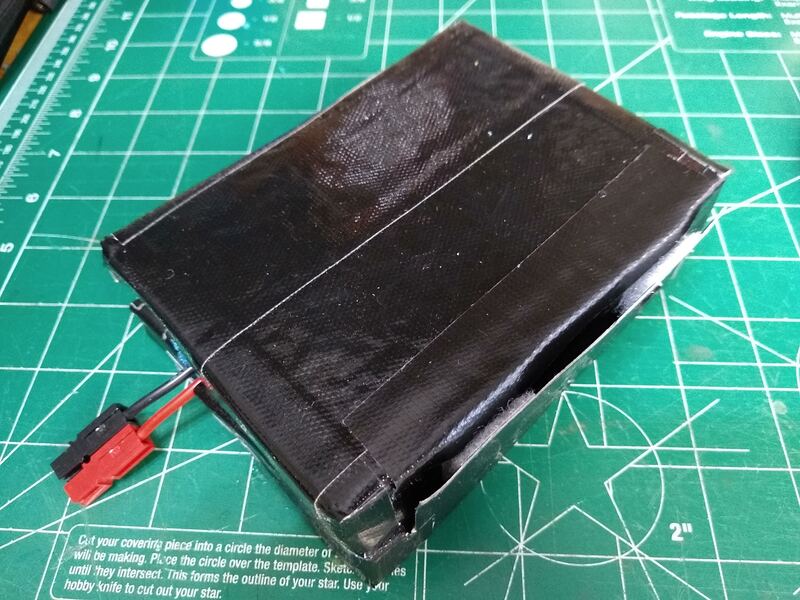
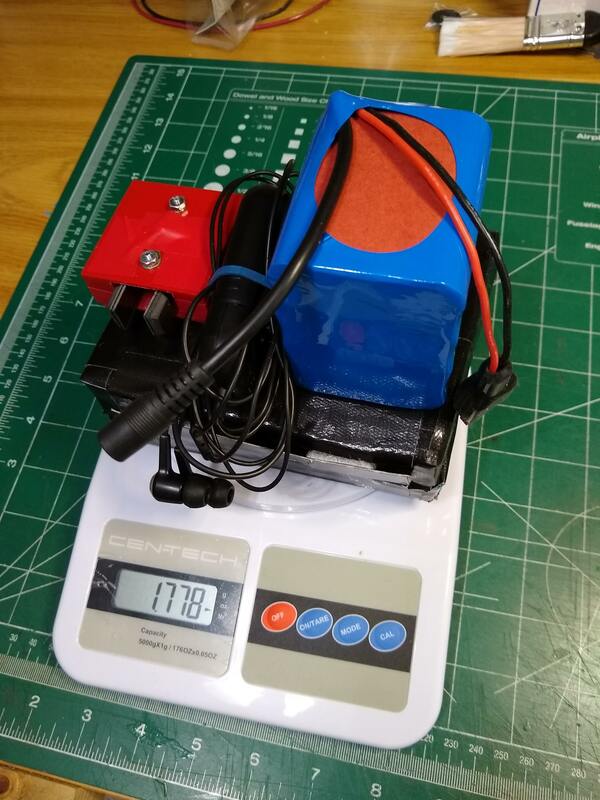
Left 2: QCX home brew protective case. Center: QCX inside protective case. Next: Case closed. Right: QXC, battery, headphones and key, 1.7lbs.
2019-05-08 I have just about decided to take the QCX on our Boundary Waters Canoe trip. But I needed some sort of protective case for it. So I cut up an old closed cell foam sleeping mat and using some Gorilla tape taped it together with Velcro to hold it closed. The QCX, 4.5Ah Bioenno Power battery, headphones and paddle key together weigh 1.7 lbs. All I need besides this is the small 40 meter RCA Speaker Wire inverted vee, 25 feet of RG-174 coax, small fiberglass push up mast and tent pegs and shock cord to finish out a portable package.
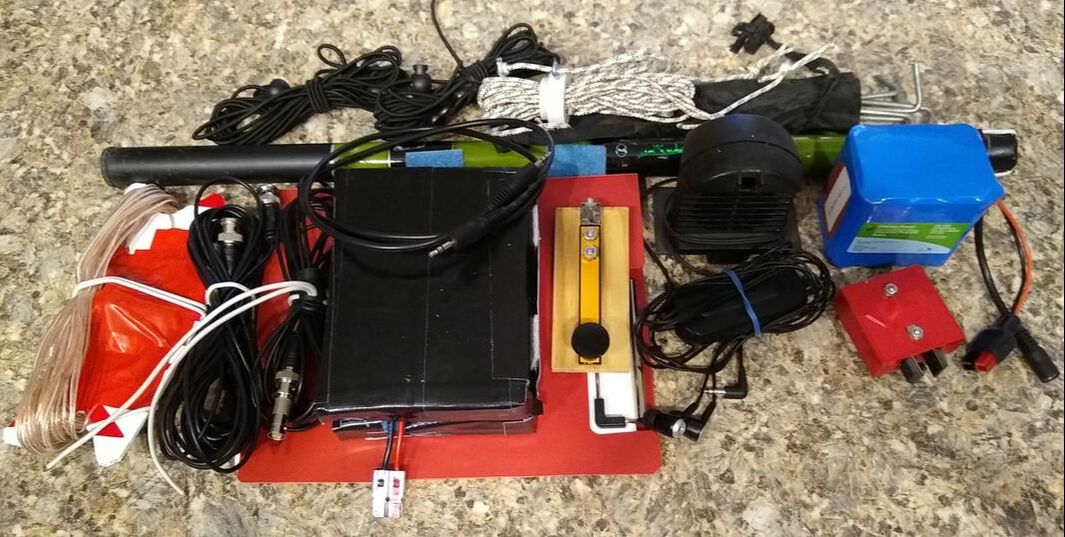
Tonight I pulled everything that would be needed for an outing in a pile. It includes the QCX, 4.5Ah Bioenno battery, CW paddle and key including cable, noise silencing headphones and small speaker, 25ft and a 10ft coaxes with connector to join them if needed, notepad and pen/pencil, 15 ft push up fiberglass mast with guy ropes and pegs, two pieces of shock cord for the ends of the antenna and a 40 meter speaker wire inverted vee antenna. Total weight including a carrying bag is 4.9lbs.
Now I need to take it offsite and make sure its "all there."
2019-05-05 It's been six days since I first made a contact with the QCX. I've had 21 QSOs, ten of those were in response to my CQ. As of this morning my longest distance contact was with K7DPS this morning at 0217 Zulu. 1437 miles. he answered my CQ. I credit the repeating message feature with much of the success. I'd give up before having gotten most of those CQ answers if doing it manually! Typically takes 4 to 6 calls. I'm addicted to this little toy!
2019-05-03 As of today I've had a total of fourteen QSOs with the QCX. The longest distance was just over 1000 miles. The average was 581 miles over five days. I used the onboard micro-switch straight key for several of those, an external straight key and a paddle. I found the CW keying excellent in all cases. The QSK is almost invisible it is so smooth. Totally absent is the relay click noise that both my Icom IC-7000 and Ic-7100 have which I find slightly distracting. It doesn't cope with fairly strong QRN particular well as it has no noise reduction feature (that I have discovered at least!). But then neither do my Icom's. It has ample audio output here in the shack driving a small speaker. And headphones work well. I'm still learning the menu driven features. But so far I love it and decided to order the enclosure so I'll feel "safe" taking it in a bag on a hike or something.
2019-05-02 After ten great QSOs with the QCX it suddenly began crackling and hissing and lost sensitivity. If it were an old tube rig I would have suspected a bad capacitor or something! But knowing nothing about how this rig actually works ( hadn't really read the manual beyond just the building and alignment instructions) I was at a loss as to where to start. So I set it aside for a few days and got out my Xiegu X5105 and kept having QRP QSOs! But the QCX problem wouldn't leave my mind alone.
If you are contemplating one of these or are actually building one, I suggest that you do what I did NOT do, read the manual carefully! Especially the section that explains how it works. The receiver is not an SDR receiver but it uses SDR front end technology. The first thing that an incoming signal encounters after an initial RC bandpass filter is a Quadrature Sampling Detector. In simplistic terms that gadget turns the RF input into a double sideband audio frequency output . The unwanted sideband is then eliminated with a phase shifting scheme (as opposed to filtering). That single sideband signal is then run through an active filter that is just 200hz wide. Finally, what comes through that filter is fed through several audio amplifiers to the speaker output. My point is that nearly everything on the board for the receiver is working at audio frequencies! In a way it is similar to a direct conversion approach with the main difference being that direct conversion to audio is done digitally rather than using mixer technology used in "normal" direct conversion receivers.
That understanding was important to me as it helped me realize that I either had a problem with the very front end, or I had an audio circuit problem. And at the front end, the problem is either with the initial bandpass filter/transformer which I wound, or with the Quadrature Sampling Detector which was premounted on the board. Quickly, I ruled out most of the audio chain by using the old fashioned technique of injecting a very low level audio signal progressively up the chain of circuits, staring nearest to the speaker and then moving further up the chain from the speaker and found increasing amplification as I expected.
At the point it seemed unlikely that the Quadrature Sampling Detector was the problem. So that left just the transformer over which I had struggled both getting the windings on the toroid and then removing the enamel, tinning and then soldering the wires onto the board! I can't be sure that was THE problem, but after I resoldered its connections and carefully cleaned those and many other solder connections on the board with a tooth pick and tooth brush, it worked! Furthermore the alignment process which I then repeated went much more as I had expected based on the alignment instructions. And the frosting on the cake is that just a little while ago I had a QSO with it and it sounded better than it had on any previous QSOs.
The moral of my story? Be careful. Be clean. Read the manual! This thing is "simple" as can be but has MANY solder connections, some very tight and it is easy to mess up! I don't say that to scare anyone off. It is actually a fun build and results in a very good transceiver with surprisingly few performance compromises when compared with a really good modern transceiver. So go for it. You'll be glad you did! :-)
My Experience building the QCX
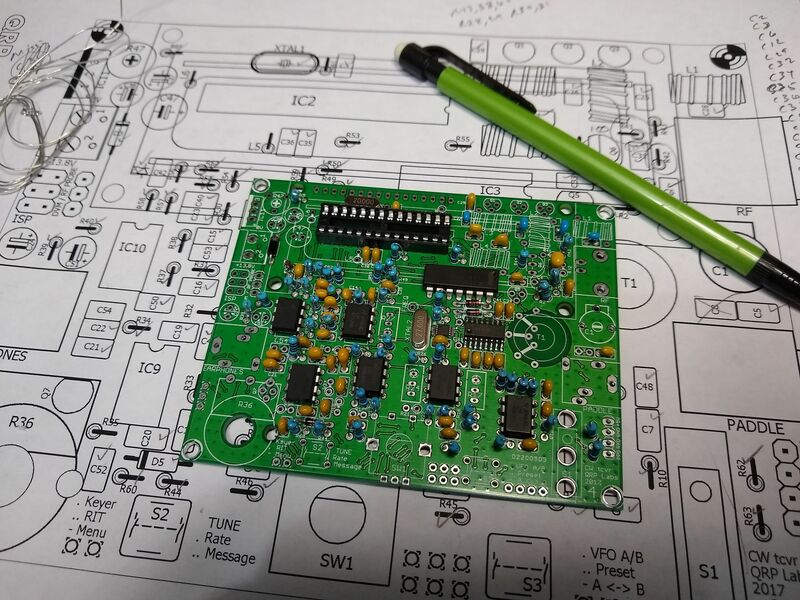
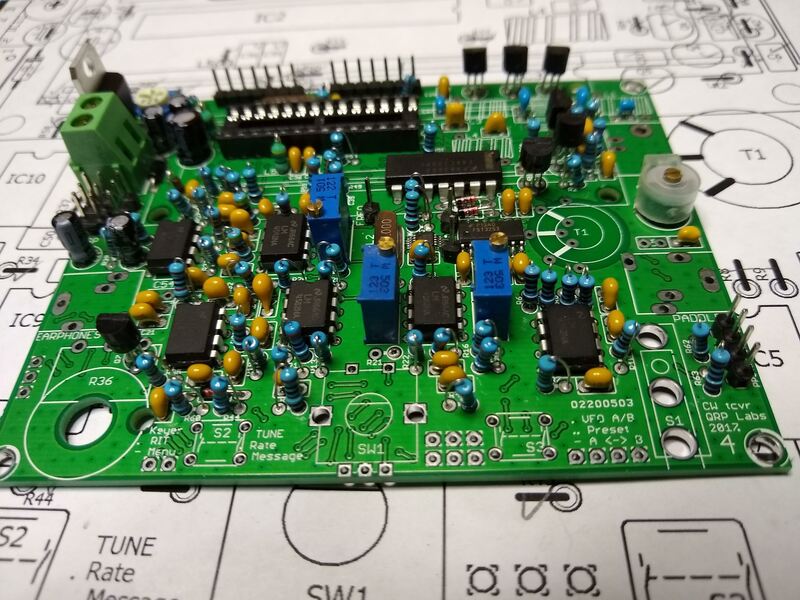
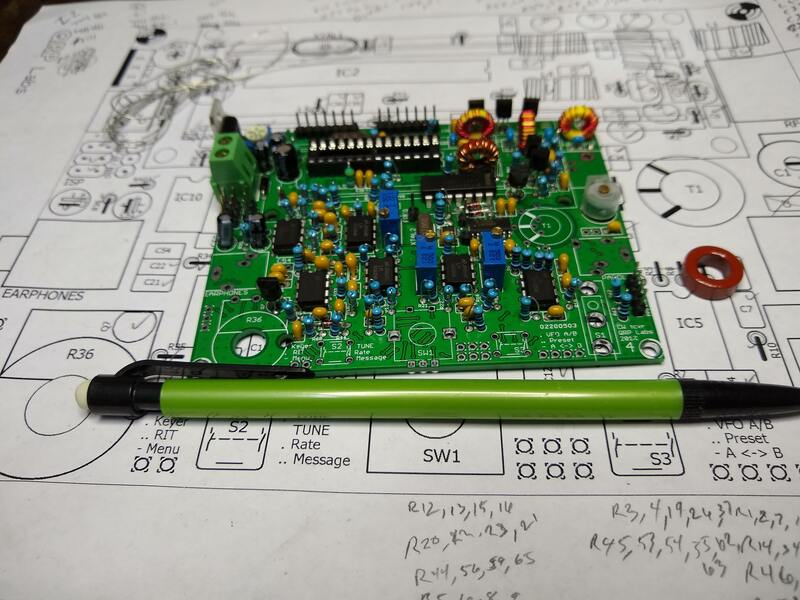
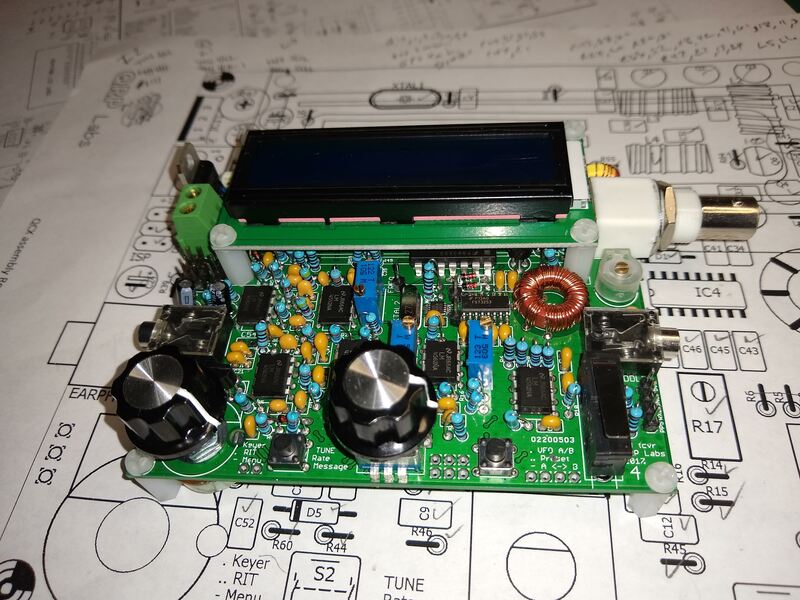
Photos of the assembly of the QRPLabs QCX kit.
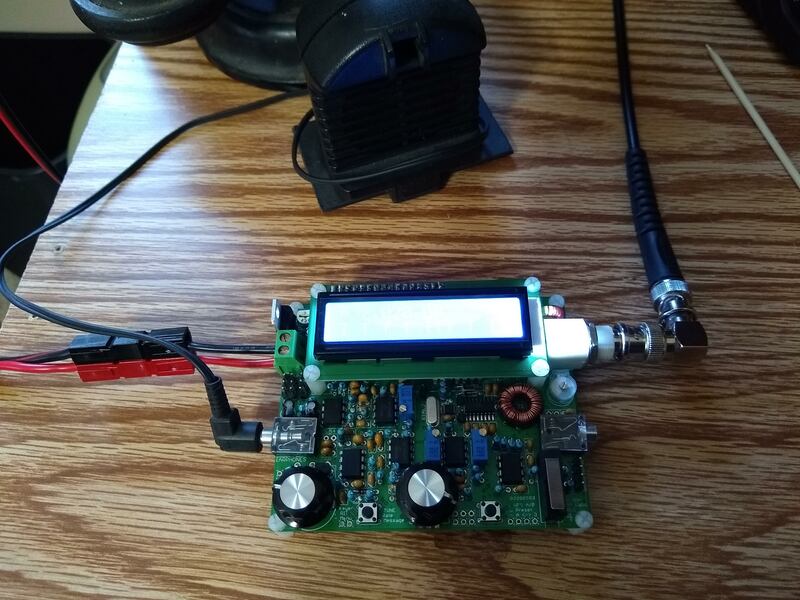
2019-04-29 five QSOs with the QCX today. Did the last one using the onboard micro-switch straight key. It works far better than I expected! have to get used to using one finger and I think speed may be limited to about 15 WPM due to the long distance motion of the micro-switch. But it is a viable key and would save a lot of weight and bulk when portable. So far I'm fully pleased with this rig! No, I'm impressed with it!
2019-04-28 Today after church I aligned the QCX rig. It was a bit nerve racking turning it on the first time but it came alive without incident. The manual is very clear and detailed on the initial alignment procedure. It takes a little while as you have to adjust three thing associated with the filtering to get it right but I got it done.
The best part was that when I attached an antenna I immediately heard stations! I worked two stations. One had pretty rough copy but he emailed me later and said he had bad storms in the area with a lot of QRN. My signal was actually pretty strong but the QRN make copy almost impossible. He was about 600 miles away in Tennessee. The second station was just a couple hundred miles south in Springfield, IL. He was 599 with some pretty strong QSB and gave me a 569. I've still got a lot to learn about the features and settings but at this point I'm really pleased with this little rig. I can see that I have to get or make a case for it. It is cute all exposed but not really a field radio in this condition!
2019-04-27 Nearing the end! I've wound and installed all the toroid inductors. I accidentally mounted the first one in the wrong location requiring removal, clearing the holes and remounting. Then I managed to wind the second one backwards which is only an issue due to where the holes for the windings are located. Now for the final and most complex component, the four winding transformer for the receiver. As the instructions say, it has "FOUR windings. Three identical short windings, and one
long winding." The long one for 40 meters has 38 turns. The others just 5 turns each. So will see if I can get it right. The instructions also say that errors on this device are the most common source of problems with the build. Once it is wound and installed all that are left are jacks and miscellaneous things prior to power up.
long winding." The long one for 40 meters has 38 turns. The others just 5 turns each. So will see if I can get it right. The instructions also say that errors on this device are the most common source of problems with the build. Once it is wound and installed all that are left are jacks and miscellaneous things prior to power up.
Finally, assembly is complete. It's 8:35pm. I'm not sure I want to power it up. I may sleep better knowing I haven't turned it on rather than is I turn it on and it doesn't work! Maybe I'll just admire my handiwork, take a shower and get a good night's sleep. After all I didn't know whether it worked last night either and I slept well! :-)
2019-04-26 Completed installing almost all of the capacitors and resistors, variable resistors and, one variable capacitor. Then mounted all the transistors and miscellaneous headers and power connector. It's gone pretty smoothly. I've taken my time just spending a half to one hour at a time. Nice to see it taking shape and the parts count going down in the plastic bags they came shipped in. I can almost hear CW in the background... So far I believe the hardest part was installing the three single pin headers. Figuring out how to hold them in place while soldering was the challenge. I finally settled on using a small piece of soft balsa wood. I could push the long end of the header into the end of the balsa piece and then clamp it in my small vice. The tip to be soldered fit the hole just tight enough that I could balance the board on it and do an initial solder of the pin. Then holding the board with my free hand (no longer holding the solder) and reheat the joint while leveling the board. A bit cumbersome but it worked. Now on to winding and installing the toroids.
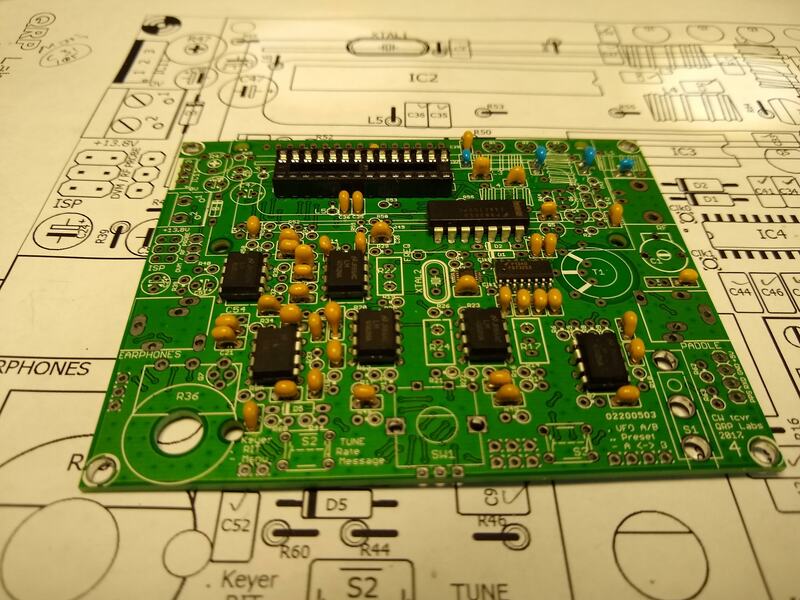
2019-04-24 All the diodes and all but a few of the resistors are now installed. The missing capacitor I mentioned on the 23rd was actually not missing. Turns out that four component values were changed just a few days ago and I had not downloaded the latest instructions. I am very impressed with how quickly and helpfully the folks at QRPLabs respond to questions. If their product is as good as their customer interaction, it'll be well worth the trouble.
Regarding the QCX itself, I had a QSO the other night with a station in Missouri who was using his newly completed QCX! He was really happy with it. 40 meters was amazing that evening and he was booming into southeast Wisconsin at a 559 even though he was only running 2 watts. I didn't think to ask him his battery voltage at that power level. He had no difficulties with his build and it worked the first time he powered it up. Hope mine will be the same!
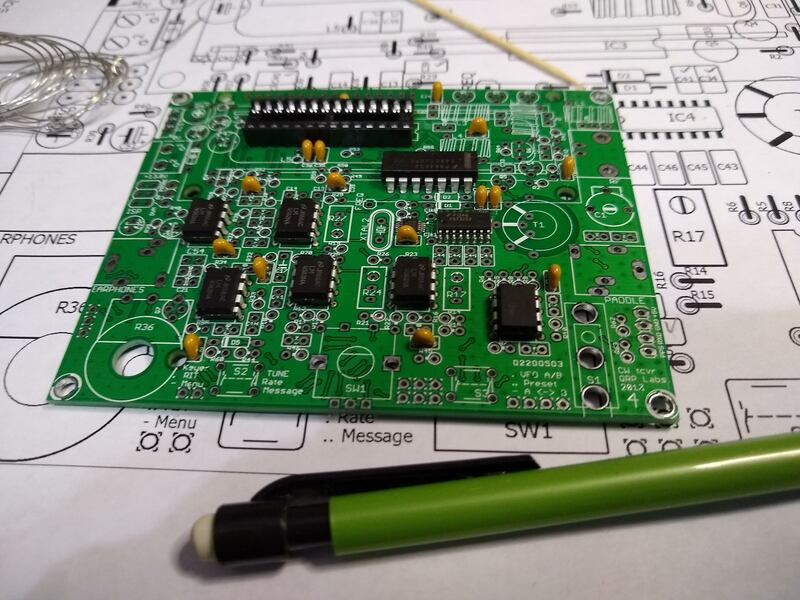
2019-04-23 Installed all the capacitors except one which I think is missing. At least I haven't found it. It's beginning to look like something now!
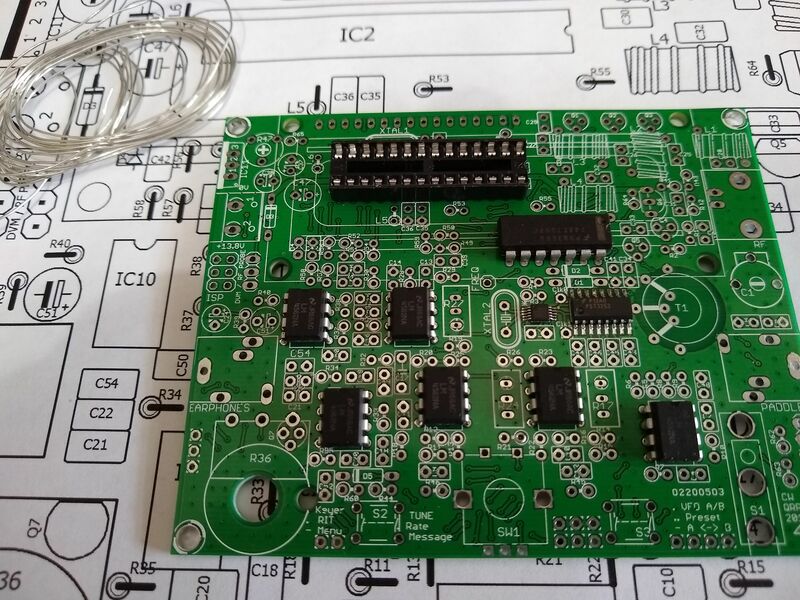
2019-04-22 Have now installed all the IC's and the sixteen 0.1uf capacitors.
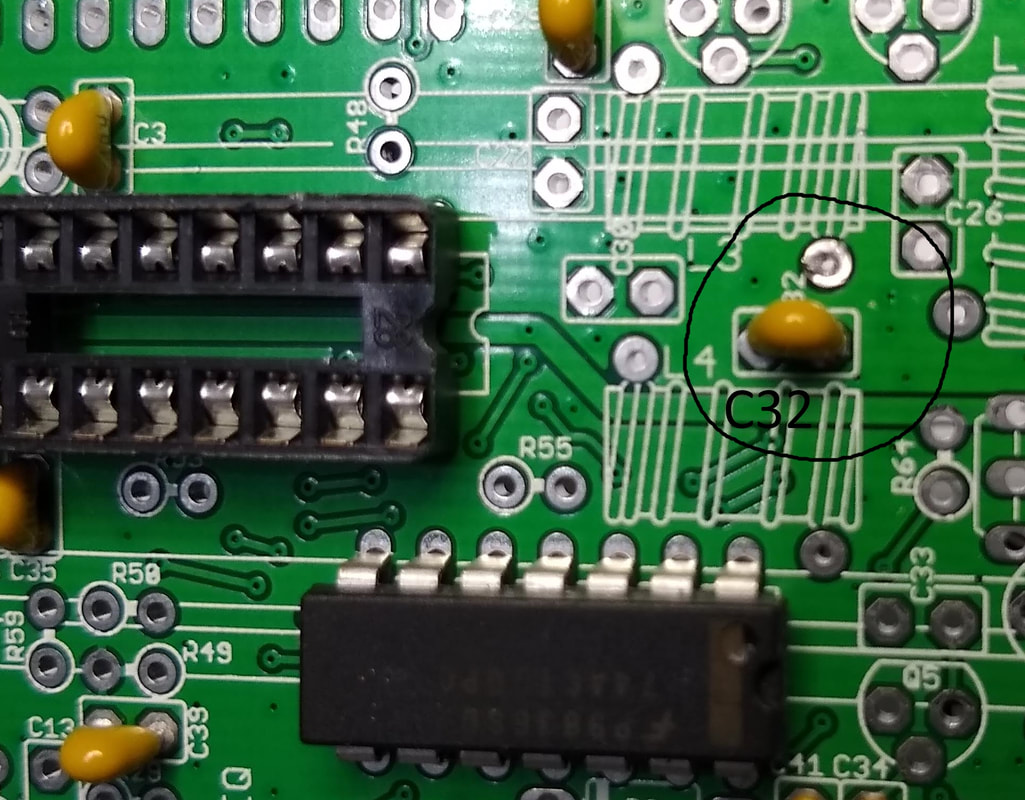
Made one mistake:
|
The board layout in the documentation and the silk screen on the PC board clearly show C32 as mounted horizontally. But I mounted it vertically, with one leg in the small hole in the board just below the inductor. The spacing of that hole fits the capacitor perfectly and the C32 label could lead one to think that is where it goes. There are probably many opportunities to do similar things on this small, compact board. So as the documentation points out, care is needed.
I was able to fix it by wedging a tiny flat blade screwdriver carefully under the cap and then while heating the leads from the bottom gently wiggle it out. To clear the hole I carefully pushed a straight pin through each hole while heating it from the bottom with the soldering iron.
An observation: You need a very hot, small-tip soldering iron. I have a temp controlled Radio Shack Digital Soldering Station with a 1/8 inch flat tip. By setting the temperature to 842 degrees (the max setting) it works well.
|
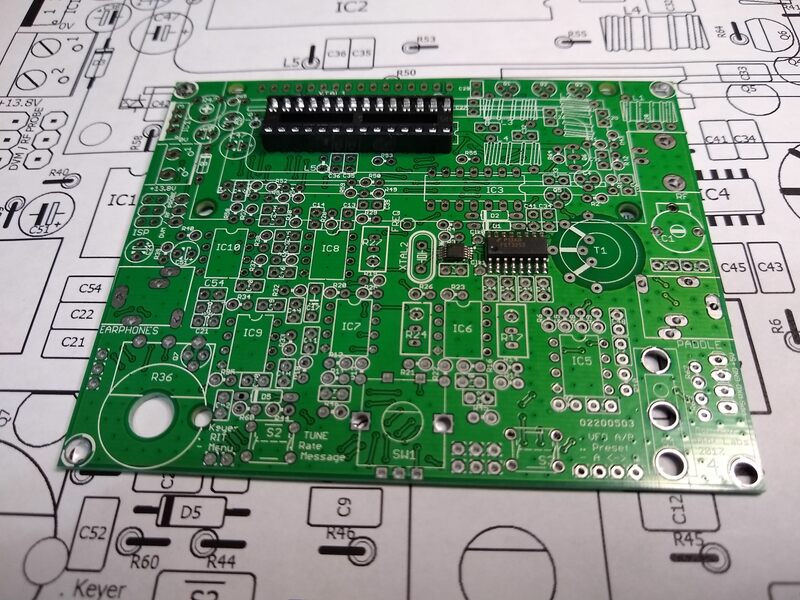
2019-04-18 Soldered the first component on the circuit board, the 28 pin IC socket! It's under way. The two surface mount ICs came pre-mounted, thankfully! Wonder how long it will take?
|
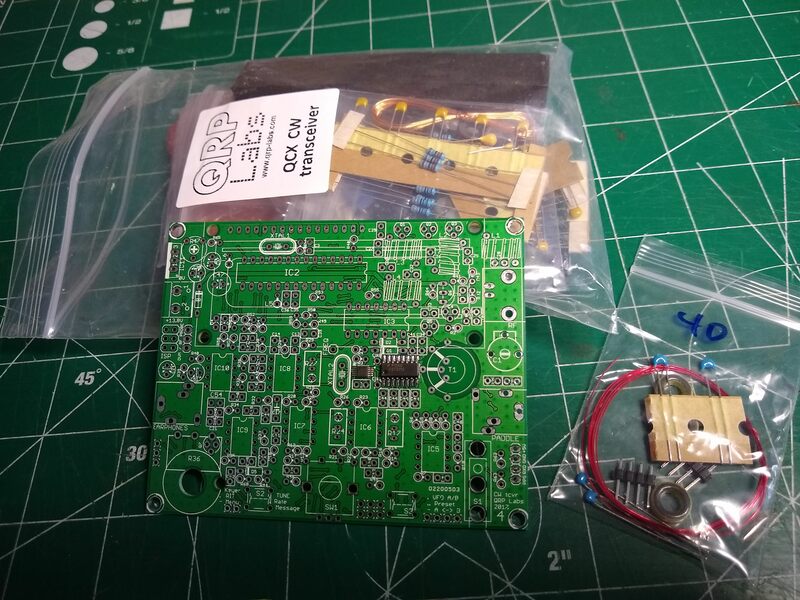
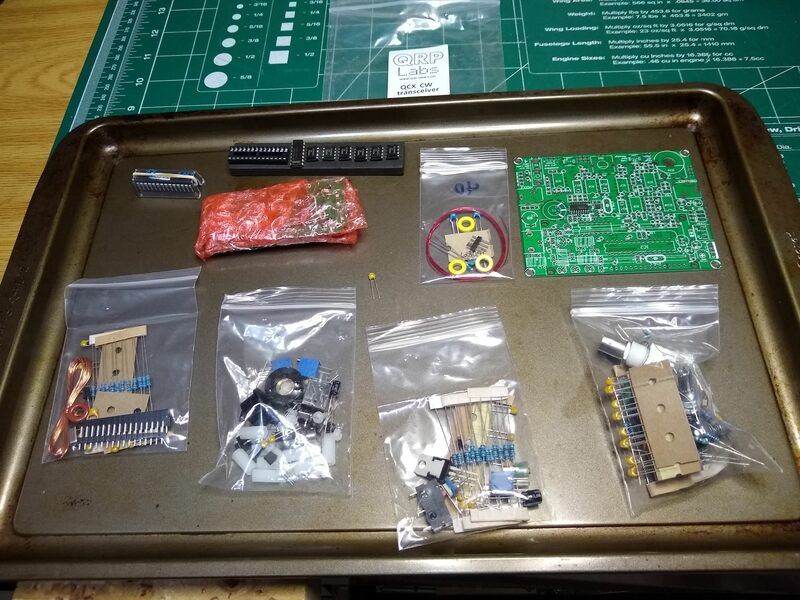
2019-04-17 Today my QRPLabs QCX arrived in the mail. Can't wait to put it together.
Lots of little pieces but the surface mount parts are already on the board. The Assembly Manual is impressive and appears to be clearly written and illustrated. So hopefully I can be careful and avoid many errors along the way and get a good-working rig. It seems to be well acclaimed by users.
|
